


Table of contents
This blog will explore how to use Material 3 (Material You) design in your Flutter application.
Google has announced Material 3 with the launch of Android 12. It brings a few refreshing changes to the UI but the dynamic color was the highlight. It creates set of primary, secondary and tertiary colors based on device wallpaper. These colors are applied across the UI and different applications like clock and calendar. Now, let's see how we can use this on our Flutter application.
Using Material Theme Builder website
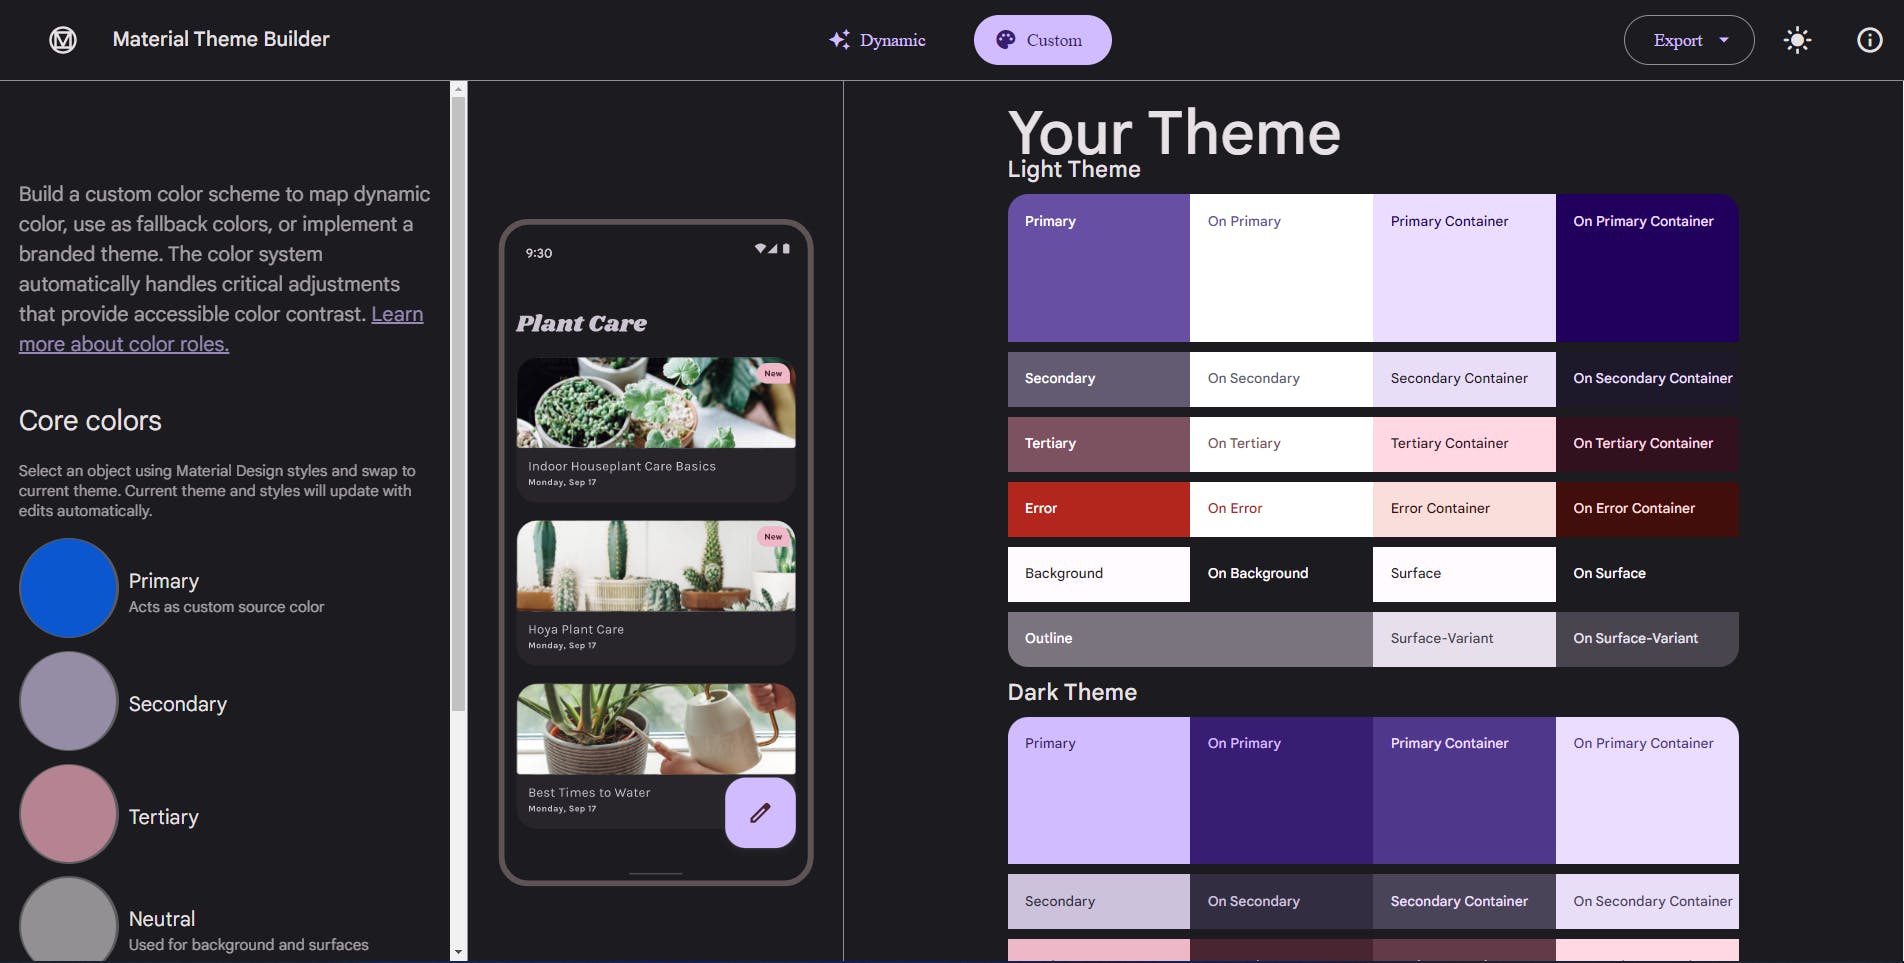
First, We need to visit Material Theme Builder. Now, we have to switch to the custom tab. Here, we can play with options to generate the colors of our liking.
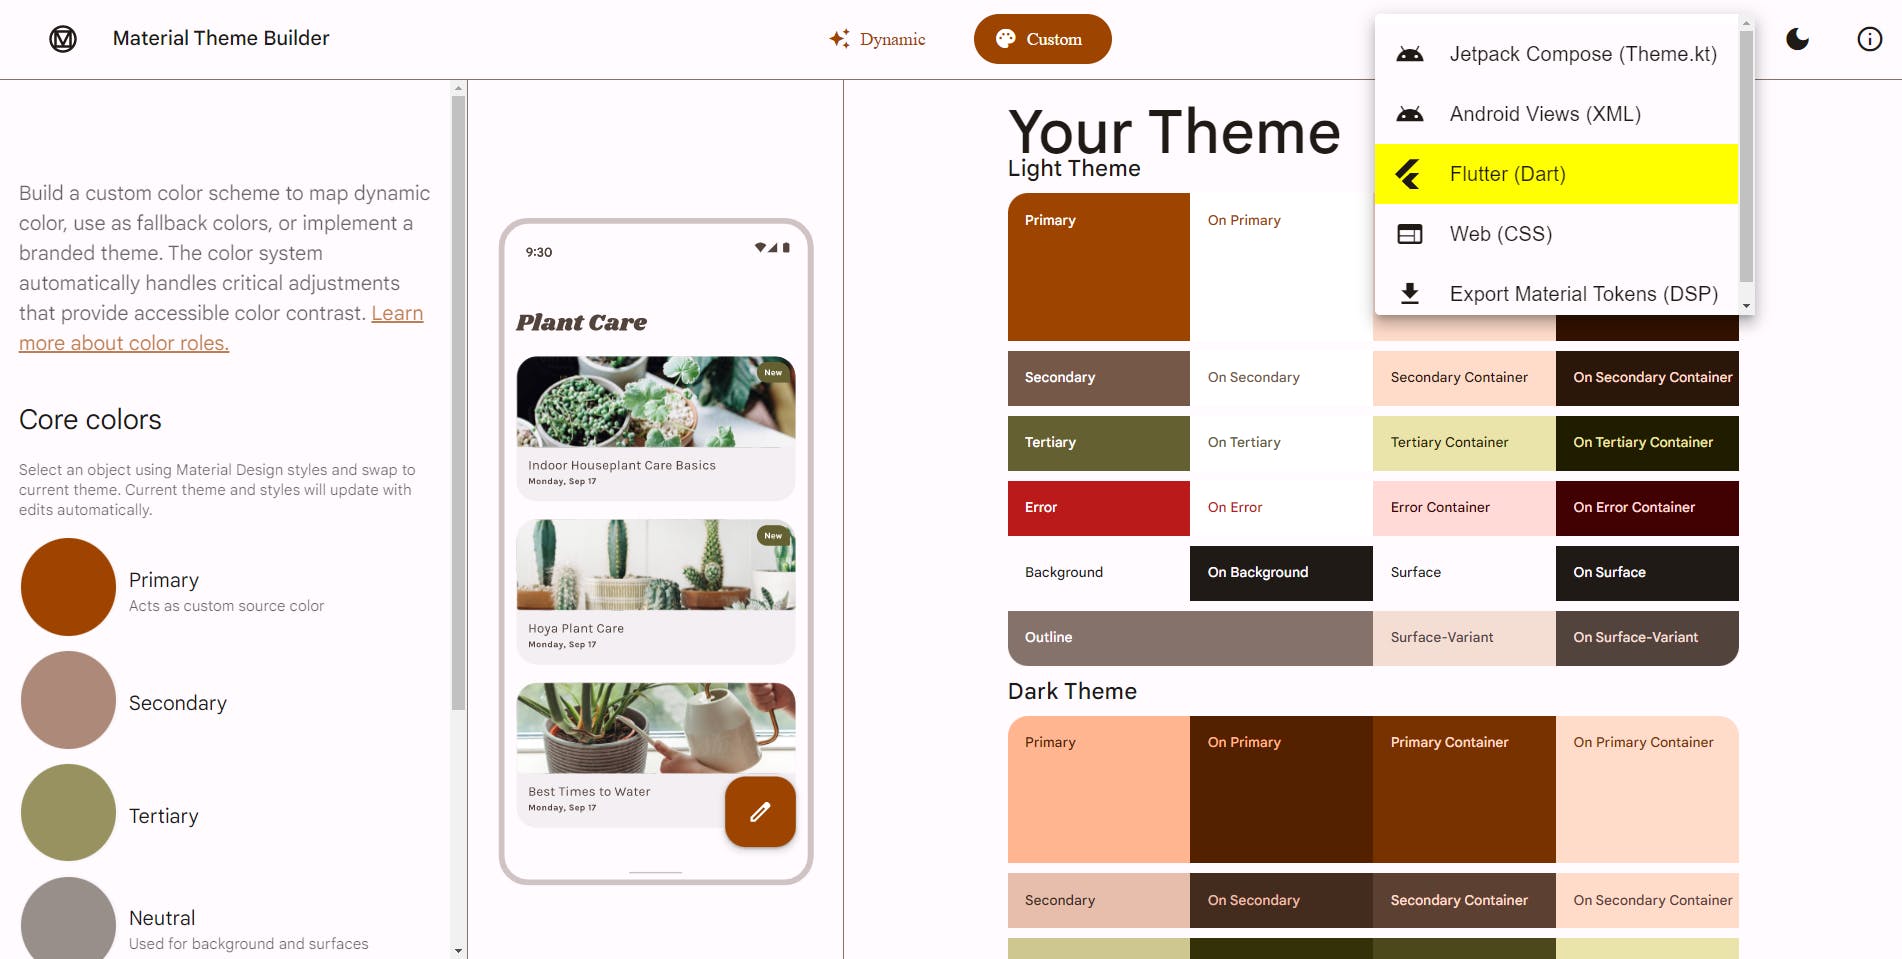
Then we need to export the dynamic colors file and start using it in our Flutter application.
Now, we will change our auto-generated counter app and apply dynamic colors with the exported files and also enable the Material 3 design.
First lets us create our project. Use the following command to create the project and then open it VSCode.
flutter create dynamic_color_mtb --platforms android
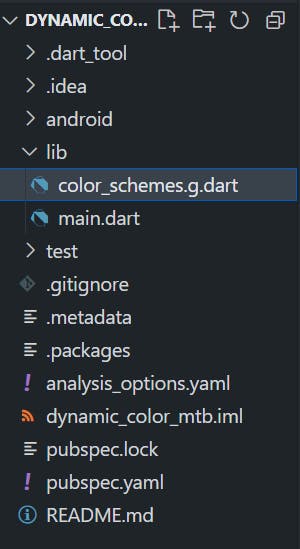
Now, extract the downloaded folder, there will be two files in it. We only need color_schemes.g.dart. Copy this file into the project's lib folder.
Now, we have to edit our main.dart file. First, we will import color_schemes.g.dart and then we will change the theme and darkTheme properties of the MaterialApp widget.
import 'package:dynamic_color_mtb/color_schemes.g.dart';
theme: ThemeData(colorScheme: lightColorScheme, useMaterial3: true),
darkTheme: ThemeData(colorScheme: darkColorScheme, useMaterial3: true),
Here is the complete code of `MyApp' widget.
class MyApp extends StatelessWidget {
  const MyApp({Key? key}) : super(key: key);

  @override
  Widget build(BuildContext context) {
    return MaterialApp(
      title: 'Flutter Demo',
      theme: ThemeData(colorScheme: lightColorScheme, useMaterial3: true),
      darkTheme: ThemeData(colorScheme: darkColorScheme, useMaterial3: true),
      home: const MyHomePage(title: 'Dynamic Color Demo'),
    );
  }
}
Now, connect your android device in debugging mode then run the following command.
flutter run
We can see the results in our device.
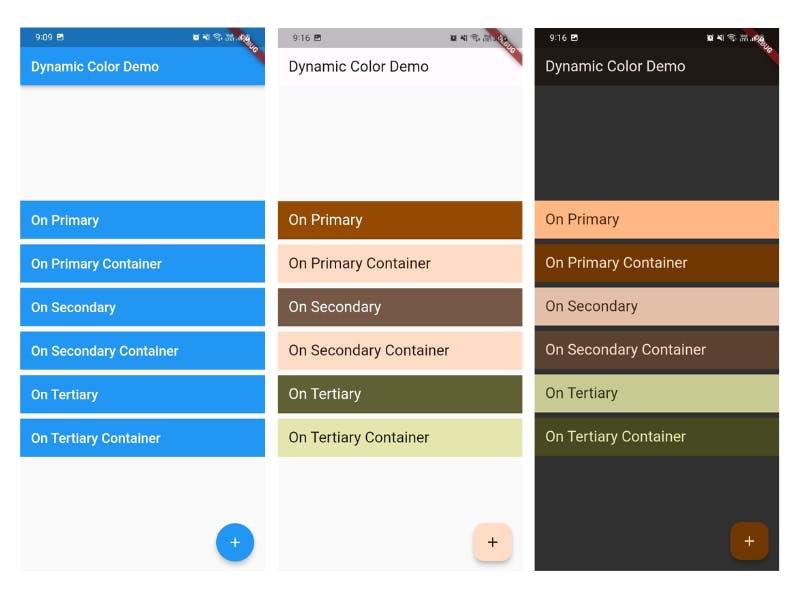
In the above image, the first screenshot is without Material 3 design, and the rest have Material 3 design enabled and dynamic colors.
Now, we will use the dynamic_color package.
Using dynamic_color package
The dynamic_color package is provided by the Material team. And, we need to add dynamic_color package to our project to use it.
For this, we will change our existing project only. Now, enter the following command in your VSCode terminal.
flutter pub add dynamic_color
It provides DynamicColorBuilder widget which extracts the dynamic colors behind the scenes and provides us with light and dark color schemes.
Here, both color schemes are nullable that means if platform doesn't support dynamic colors then these value will be null. And, in that case our default color scheme will be used or we can apply custom color scheme. Now, let's see what changes we have to make.
Here is complete code of modified MyApp widget.
class MyApp extends StatelessWidget {
  const MyApp({Key? key}) : super(key: key);

  @override
  Widget build(BuildContext context) {
    return DynamicColorBuilder(
      builder: (lightDynamic, darkDynamic) {
        return MaterialApp(
          title: 'Flutter Demo',
          theme: ThemeData(
            colorScheme: lightDynamic ?? lightColorScheme,
            useMaterial3: true,
          ),
          darkTheme: ThemeData(
            colorScheme: darkDynamic ?? darkColorScheme,
            useMaterial3: true,
          ),
          home: const MyHomePage(title: 'Dynamic Color Demo'),
        );
      },
    );
  }
}
In the above, lightDynamic and darkDynamic are provided by DynamicColorBuilder whereas lightColorScheme and darkColorScheme are present in the file `color_schemes.g.dart, these two will act as default color scheme.
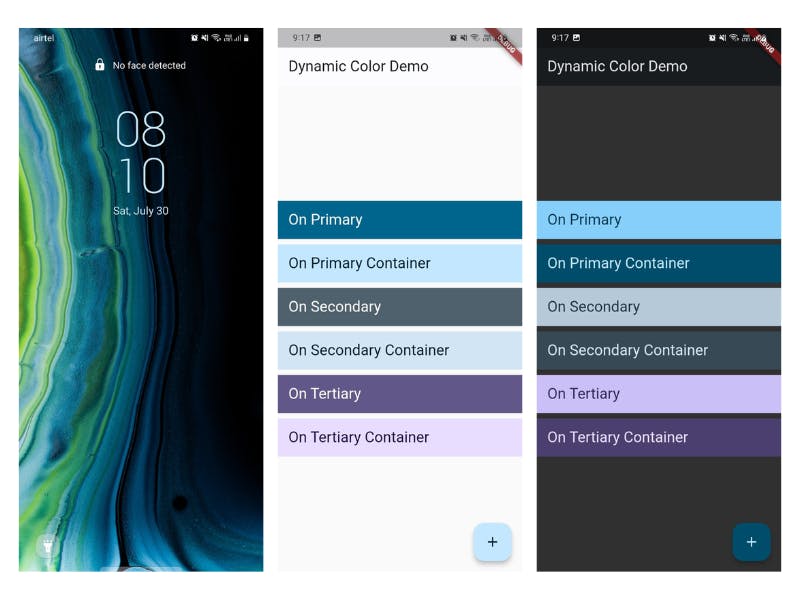
Now let's build our app and see the results. We can see that colors are generated according to device wallpaper.
Congratulations 🥳, we have successfully learned how to enable Material 3 design and use dynamic colors in our app.
Full source code available here.